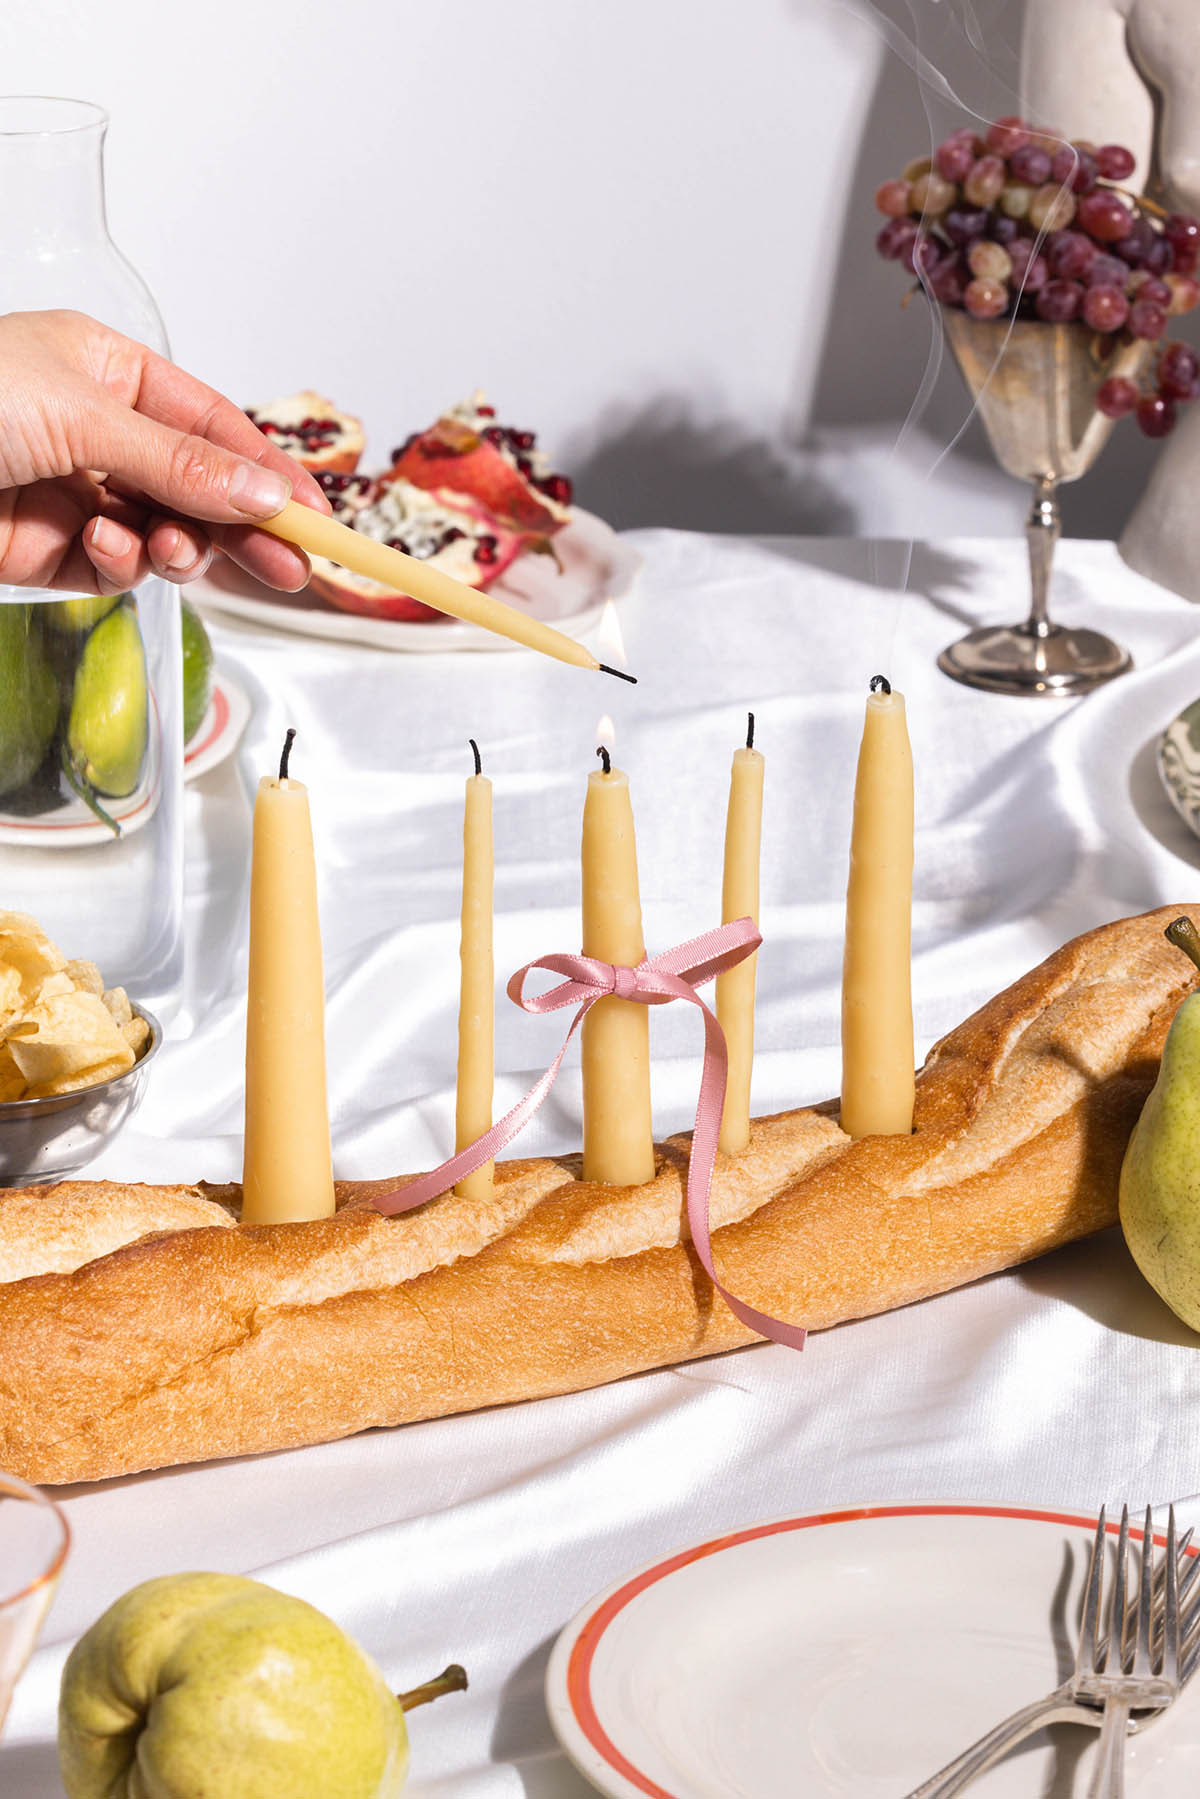
How to easily make hand dipped candles at home, with just beeswax, wicks, and some basic equipment. This is a great beginner craft and handmade beeswax tapers make the most beautiful gift. You can even use an old soup can to melt the wax in!
Get some good vibes going with a little festive music, put on a Christmas potpourri simmer pot, and make some spiced orange pomanders, too. Who needs plastic ornaments when you have these?
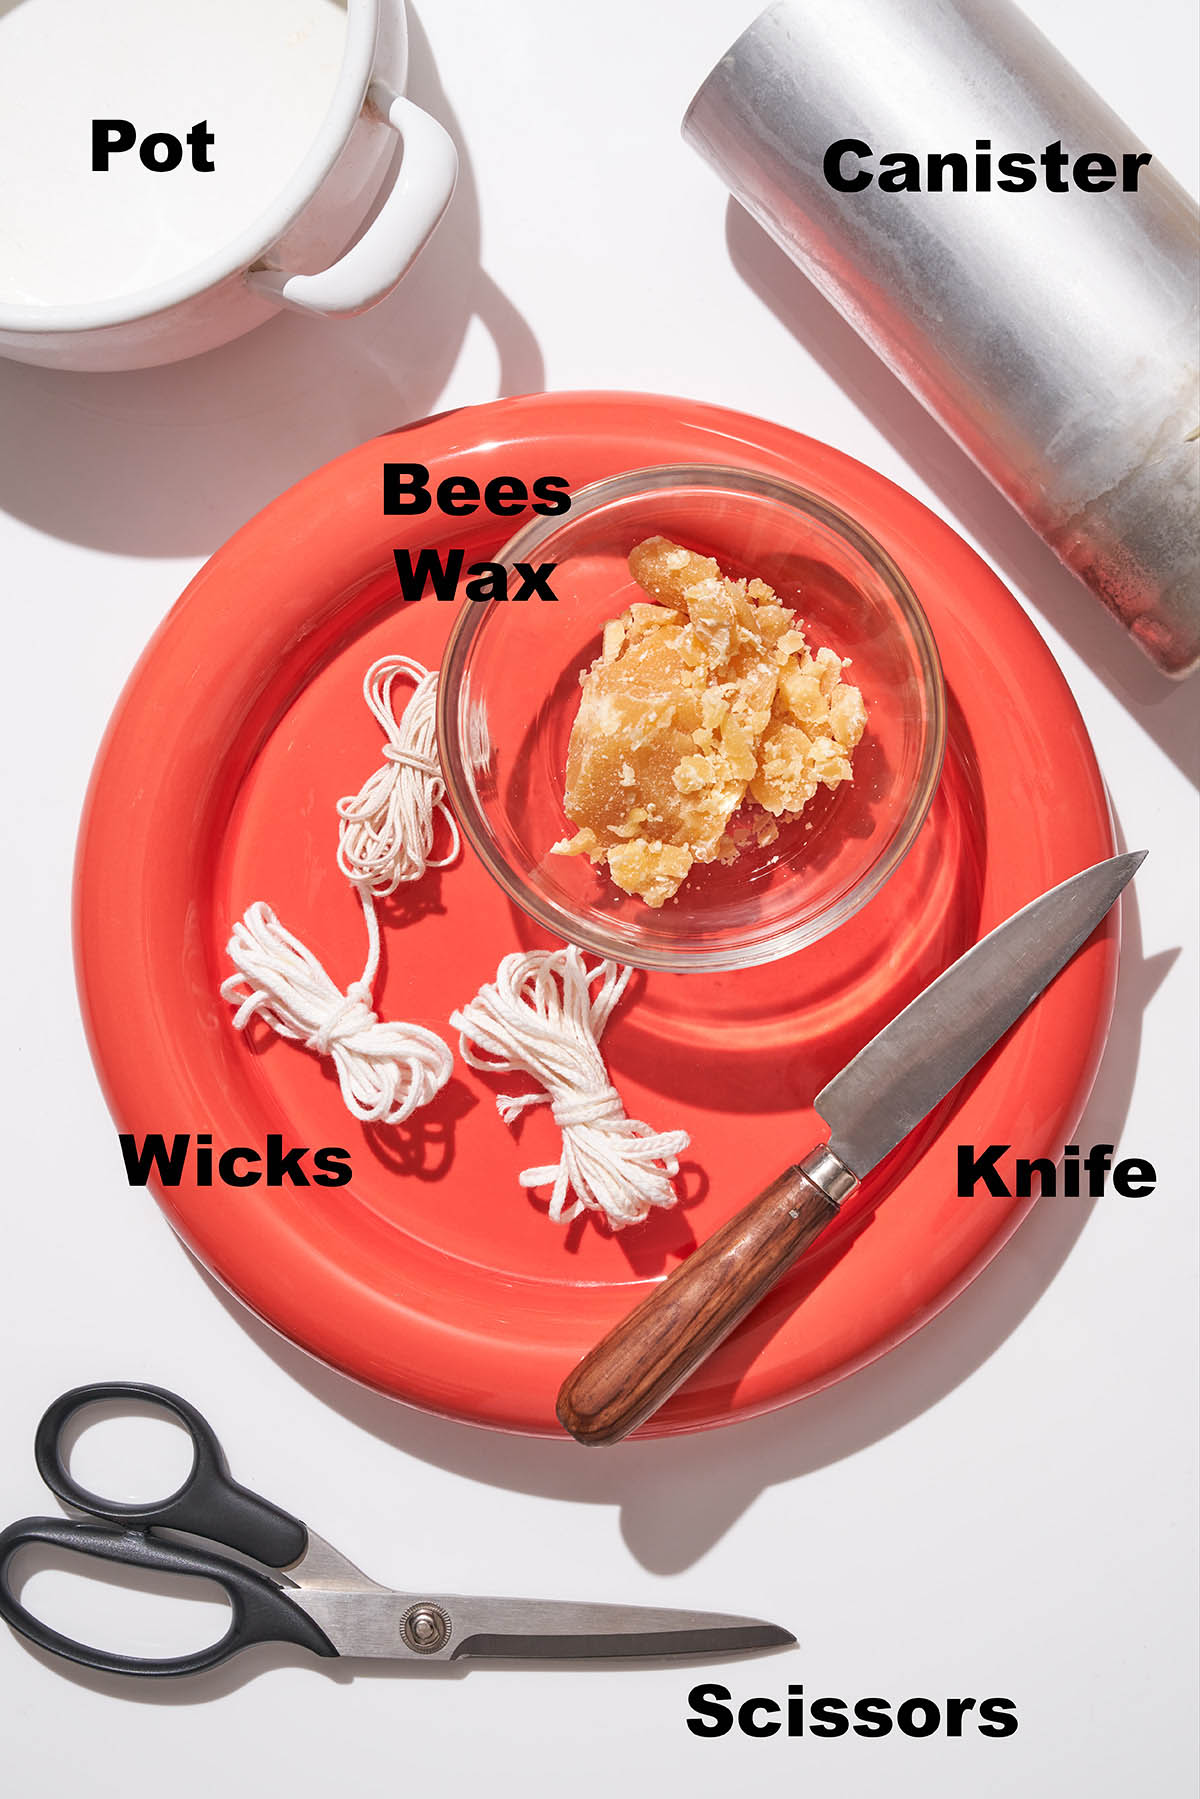
What You'll Need
Notes and Substitutions
- Canister: I prefer a metal canister over glass, just to prevent any risk of cracking. Keep in mind that you'll use this canister over and over so don't use anything fancy.
- Wicks: plain cotton or hemp wicks are best. A variety of thicknesses should be used if you're planning on making candles of different sizes. They'll usually be labeled with the suggested candle thickness.
- Wax: you can use beeswax leftover from burning other candles or buy it new. The small pellets will melt most quickly but you can also chop or grate larger pieces. For a vegan alternative you can use soy wax.
How to Make Hand Dipped Candles
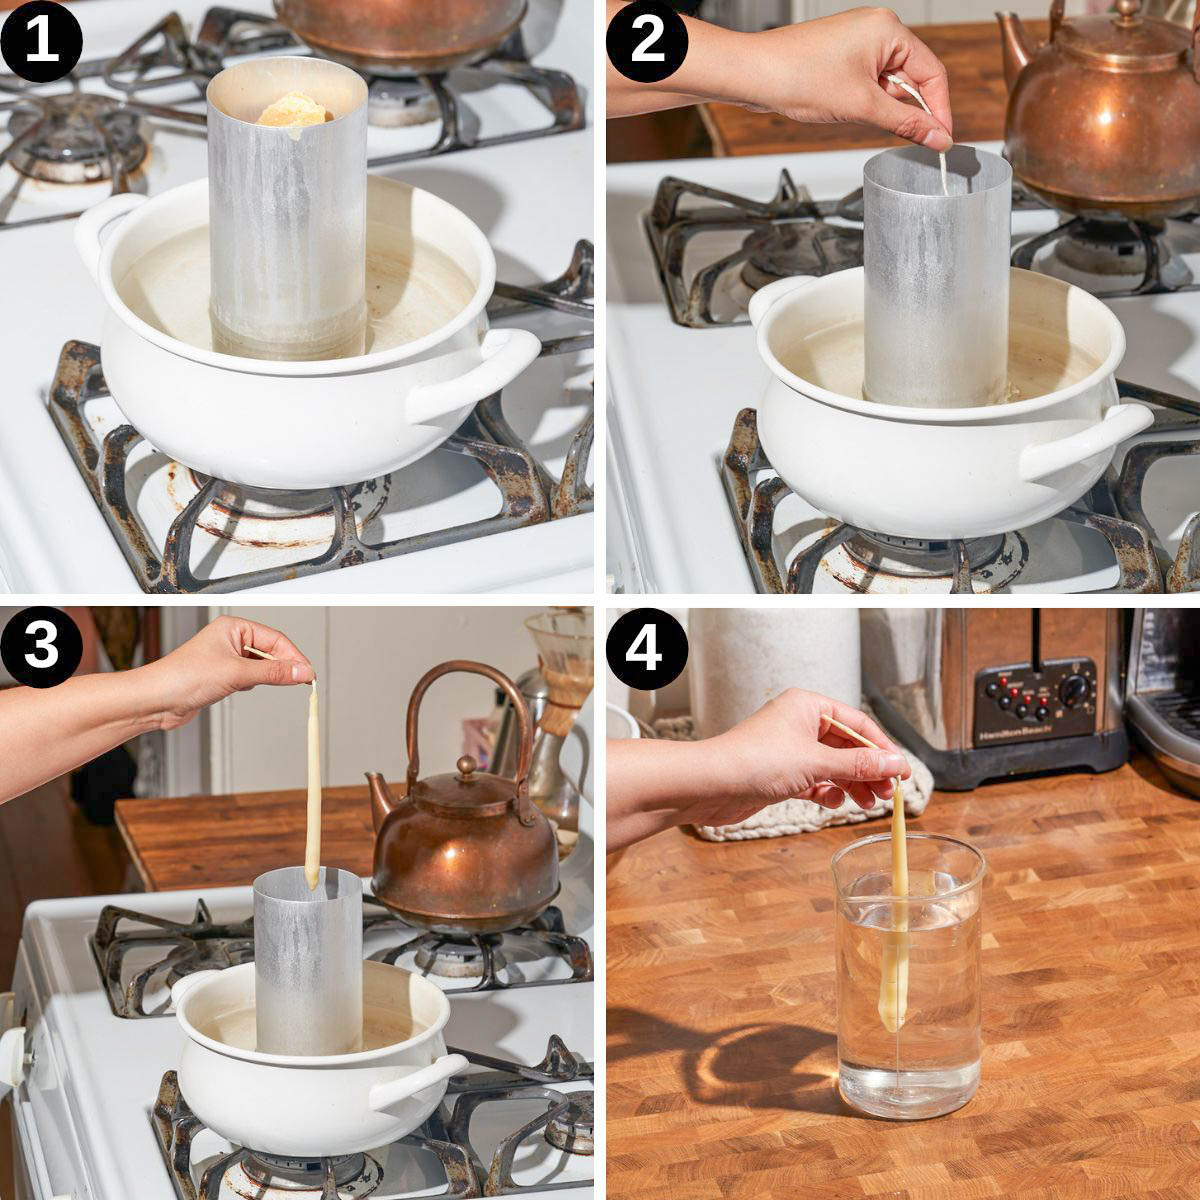
Step 1: melt the beeswax in a metal canister set in a pot of water. Be patient, it may take a long time to melt.
Step 2: dip the wick, then use your fingers to straighten it out.
Step 3: dip the candle several times to add layers.
Step 4: optionally dunk the candle in cold water to instantly set the wax.

Step 5: keep dipping the candle until it reaches your desired size.
Step 6: dip it in water one last time to set the wax.
Step 7: trim the wicks with scissors.
Step 8: cut off the bases and package how you'd like.
Top Tips
- Give them time to set: it's best to let the candles cure for several months before using for the best burning time.
- Use the correctly sized canister: it needs to be pretty deep, or you'll end up with little stumpy candles.
- Use metal not glass: while lots of people use canning jars to melt the wax in, I think it's a little risky. Metal is cheap as well since you can just use old cans.
- Make double candles: if your canister is large enough, you can make two candles on one long length of wicking, but you have to be careful that they don't touch.
- Use the right wicks: use wicks that are made for the wax you are using. Look for wicks in the right size for the candle thickness you are aiming for, thicker wicks for larger candles.

FAQ
Are beeswax candles really better?
Beeswax has the highest melting point for any available wax, so you get more bang for your buck (they last longer when burning). Beeswax also doesn't release soot when burning.
Do beeswax candles pollute the air?
Of all available candles, beeswax is the best option in terms of air quality in the home. Paraffin candles do release potential carcinogens but apparently in small enough quantities not to be harmful – but regardless, paraffin is a petroleum byproduct and isn't a good environmental option.
Are beeswax candles unethical?
If you are completely plant-based, you may consider beeswax to be unethical. In terms of environmental impact, beeswax is definitely the best option.


If you make these Homemade Beeswax Candles or any other eco-friendly DIYs on Wholehearted Eats, please take a moment to rate the recipe and leave a comment below. It’s such a help to others who want to try the recipe. For more WHE, follow along on Instagram or subscribe for new posts via email.
Hand Dipped Candles
Equipment
- Candle-Dipping Wax Canister Tall and thin in shape like a juice / deep soup can (some people use glass, but I don't like to risk it in case they shatter)
- Water Bath Pot half-filled with hot water
- Knife and Scissors to trim candle bottom, and cut wick
- Candle dryer any 2- to 3-inch wide, horizontal stick to hang drying candles on
Ingredients
- Beeswax or soy wax chunks or pellets
- Cotton or hemp wicking
Instructions
- Add wax to the canister, and place it into a pot half-filled with water (there should be at least 15cm of water around the canister). Heat the water to melt the wax, but don't bring it to a boil. The wax shouldn't be heated above 75°C (167°F).Beeswax or soy wax
- Begin by dipping a length of wick and then use your fingers pull it* straight. Leave to cool for about a minute then drip again and let cool. Continue to dip and hang to dry, for about 2 minutes each dip, until the candle is as thick as you want. Add more wax as needed to maintain the wax level in the canister.Cotton or hemp wicking
- Alternatively you can dip your candle into wax then cold water to set it faster, but make sure your candle has no beads of water before adding it back into the wax, or the wax won't stick properly. I like to gently rub my hand down the candle to knock off any excess water.
- Once the candles are as large as you'd like and fully dry, trim the wicks with scissors. You can leave them long for gifting if you'd like, and they can be trimmed later.
- Cut the bottoms of the candles off with a sharp knife if you want a flat base. This wax can be reused. Let the candles cure for at least a couple weeks, preferably a few months, before burning.